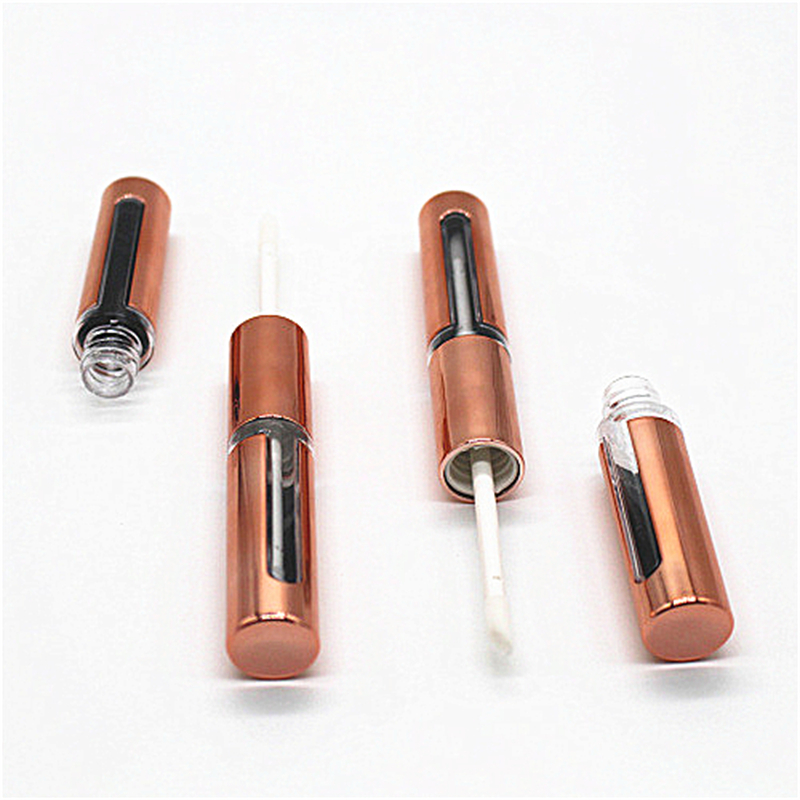
Embarking on a DIY lip gloss project can be a rewarding and creative endeavor. Crafting your own custom lip gloss allows you to tailor the color, texture, and ingredients to your liking. With lip gloss tubes as your canvas, you can experiment with various formulations and unleash your inner beauty alchemist. Here’s a step-by-step guide to creating your very own DIY lip gloss:
Materials You’ll Need:
- Lip gloss tubes (empty and clean)
- Lip gloss base (such as a mixture of oils and waxes)
- Pigments or mica powders for color
- Essential oils or flavorings (optional)
- Small mixing containers
- Measuring spoons
- Small spatula or mixing tool
- Pipettes or droppers
- Microwavable bowl or double boiler for melting
Step-by-Step Guide:
- Prepare Your Workspace: Set up a clean and organized workspace with all your materials within reach.
- Create the Base: In a microwavable bowl or double boiler, melt your chosen lip gloss base. This can include a mixture of oils like coconut oil, jojoba oil, and beeswax. Microwave in short intervals or heat gently on the stovetop until fully melted.
- Add Color: If you desire colored lip gloss, mix in pigments or mica powders until you achieve your desired shade. Mix thoroughly to ensure even distribution of color.
- Scent and Flavor (Optional): If you’d like scented or flavored lip gloss, add a few drops of essential oils or flavorings. This step is entirely optional but can enhance the sensory experience.
- Transfer to Tubes: Use pipettes or droppers to carefully transfer the lip gloss mixture into your empty lip gloss tubes. Fill each tube, leaving a small space at the top to avoid overflow when inserting the applicator.
- Cool and Set: Allow the lip gloss to cool and set in the tubes. You can place the tubes in the refrigerator for faster cooling.
- Cap and Label: Once the lip gloss has solidified, securely cap each tube. You can also create custom labels to give your lip gloss a personalized touch.
- Experiment and Enjoy: Experiment with different color combinations, textures, and scents to create a range of custom lip glosses. Test your creations and enjoy your DIY lip gloss collection.
Remember that DIY lip glosses might have a shorter shelf life compared to commercial products, as they lack preservatives. It’s recommended to use and enjoy your creations within a reasonable timeframe.
Creating your custom lip gloss using lip gloss tubes allows you to express your creativity and curate a lip product that is uniquely yours. Have fun experimenting and embracing the art of DIY beauty!


